High Schools
Schools A-C
Ash Grove
Aurora
Ava
Billings
Blue Eye
Bolivar
Branson
Buffalo
Cabool
Camdenton
Carl Junction
Carthage
Cassville
Clever
Conway
Ash Grove
Aurora
Ava
Billings
Blue Eye
Bolivar
Branson
Buffalo
Cabool
Camdenton
Carl Junction
Carthage
Cassville
Clever
Conway
Schools C-H
Crane
East Newton
Fair Grove
Fordland
Forsyth
Gainesville
Galena
Glendale
Greenfield
Greenwood
Harrison
Hartville
Hermitage
Crane
East Newton
Fair Grove
Fordland
Forsyth
Gainesville
Galena
Glendale
Greenfield
Greenwood
Harrison
Hartville
Hermitage
Schools H-M
Hillcrest
Hollister
Houston
Joplin
Kickapoo
Lamar
Lebanon
Lockwood
Mansfield
Marionville
Marshfield
McDonald County
Miller
Monett
Hillcrest
Hollister
Houston
Joplin
Kickapoo
Lamar
Lebanon
Lockwood
Mansfield
Marionville
Marshfield
McDonald County
Miller
Monett
Schools M-P
Morrisville
Mount Vernon
Mountain Grove
Mountain Home
MV-BT/Liberty
Neosho
Nevada
New Covenant
Nixa
Norwood
Ozark
Parkview
Pierce City
Morrisville
Mount Vernon
Mountain Grove
Mountain Home
MV-BT/Liberty
Neosho
Nevada
New Covenant
Nixa
Norwood
Ozark
Parkview
Pierce City
Schools O-S
Pleasant Hope
Reeds Spring
Republic
Rogersville
Rolla
Salem
Seneca
Seymour
Skyline
Sparta
Spokane
Springfield Catholic
Springfield Central
Pleasant Hope
Reeds Spring
Republic
Rogersville
Rolla
Salem
Seneca
Seymour
Skyline
Sparta
Spokane
Springfield Catholic
Springfield Central
Schools S-W
Stockton
Strafford
Thayer Bobcats
Walnut Grove
Warsaw
Waynesville
Weaubleau
Webb City
West Plains
Willard
Willow Springs
Stockton
Strafford
Thayer Bobcats
Walnut Grove
Warsaw
Waynesville
Weaubleau
Webb City
West Plains
Willard
Willow Springs
Colleges
Drury
Evangel
Missouri State
Videos
Sports
Baseball
Men’s Basketball
Cross Country
Tennis
Track
Football
Soccer
Golf
Softball
Swimming & Diving
Wrestling
Women’s Basketball
Volleyball
Scores and Schedules
Men’s
Baseball
Basketball
Football
Soccer
Women’s
Basketball
Softball
Soccer
Volleyball
Rankings
Photos
About Us
Contact Us
Job Opportunities
Meet the Staff
Submit
Scores
Photos
Story Ideas
Search
Search
Trending
O-Zone Photo Archives
O-Zone Photo Archives
Google-play
Apple
Facebook-f
Twitter
By
Chris Parker
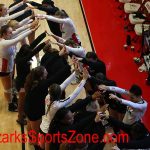
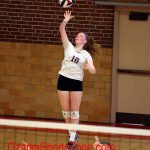
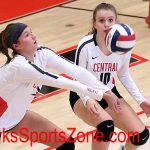
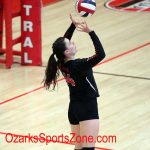
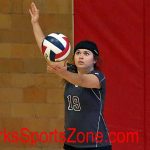
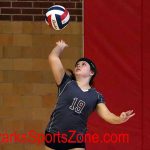
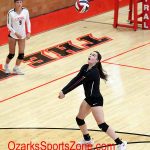
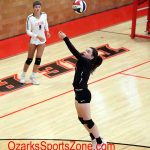
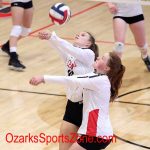
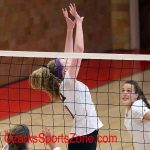
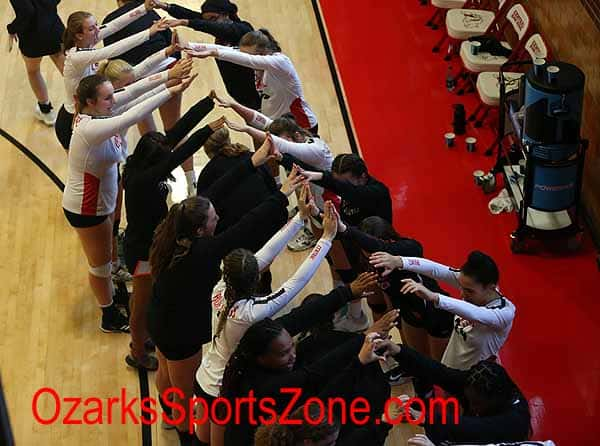
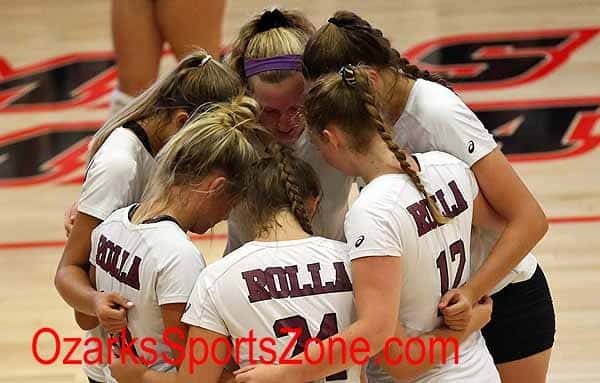
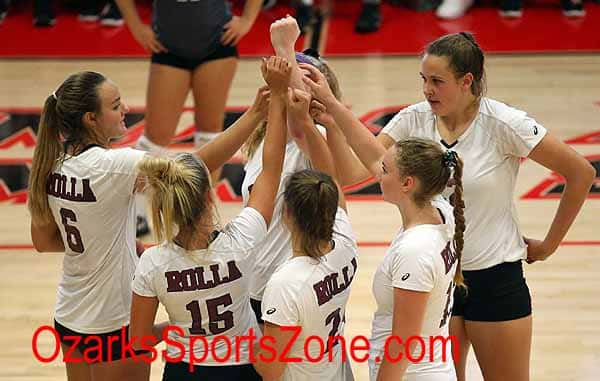
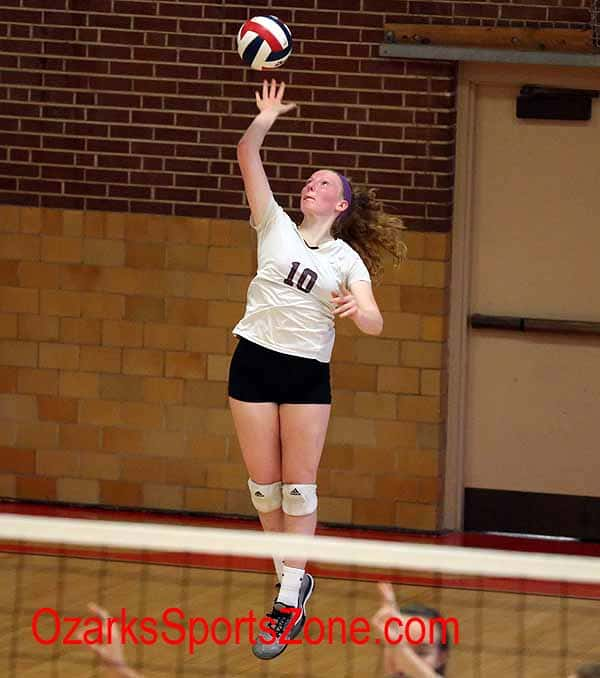
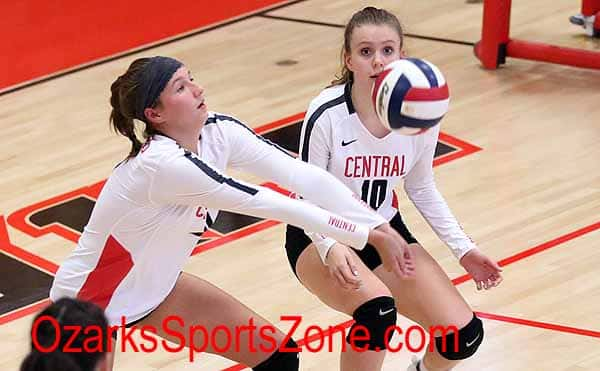
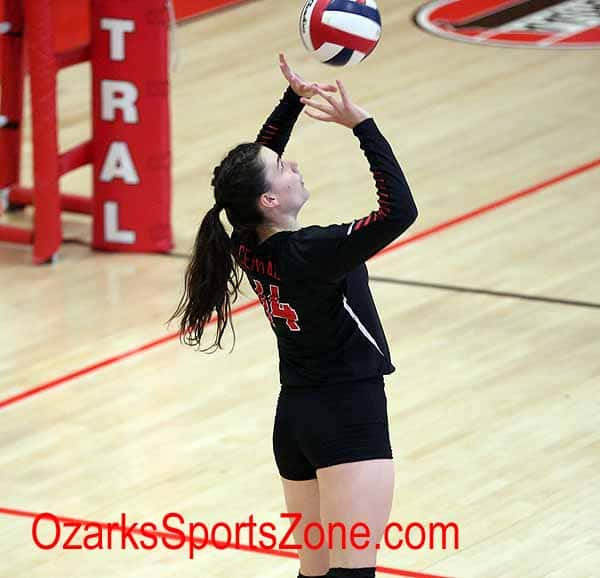
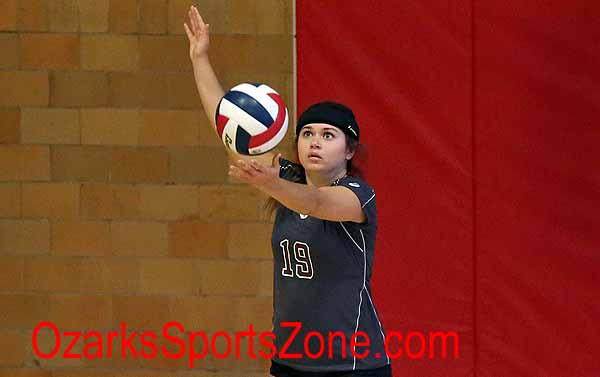
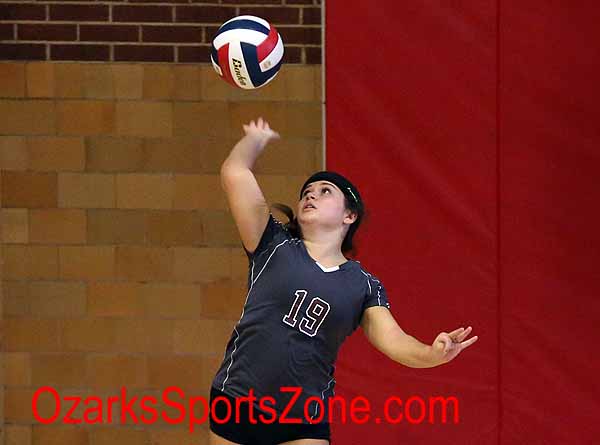
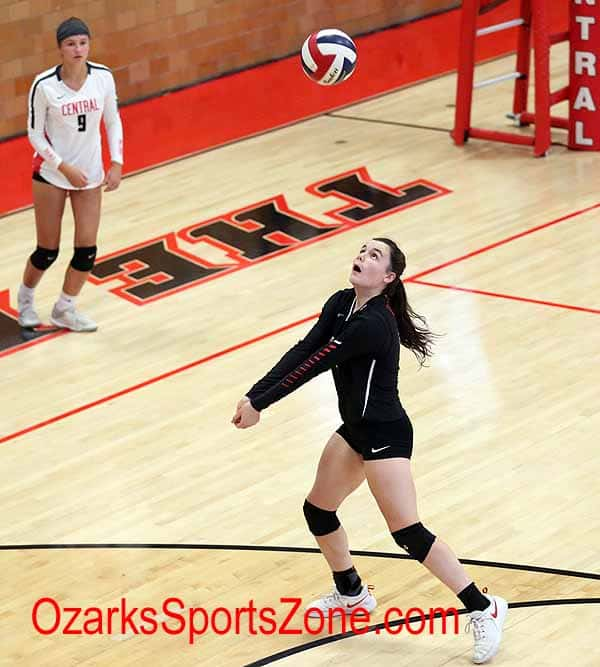
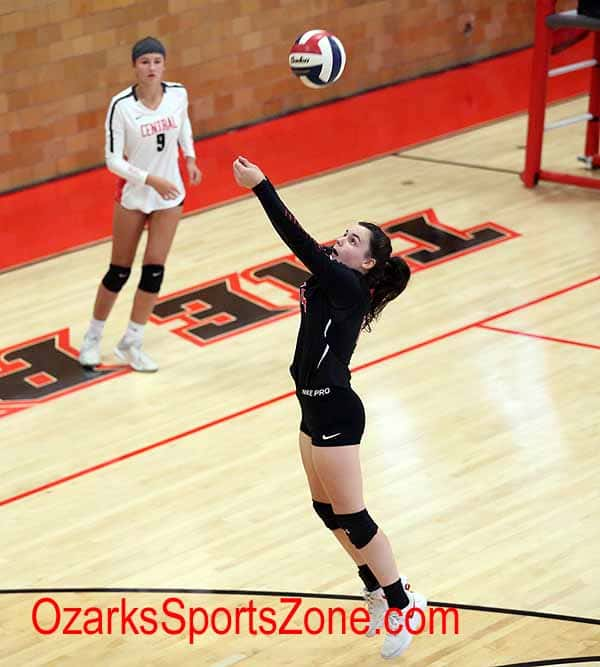
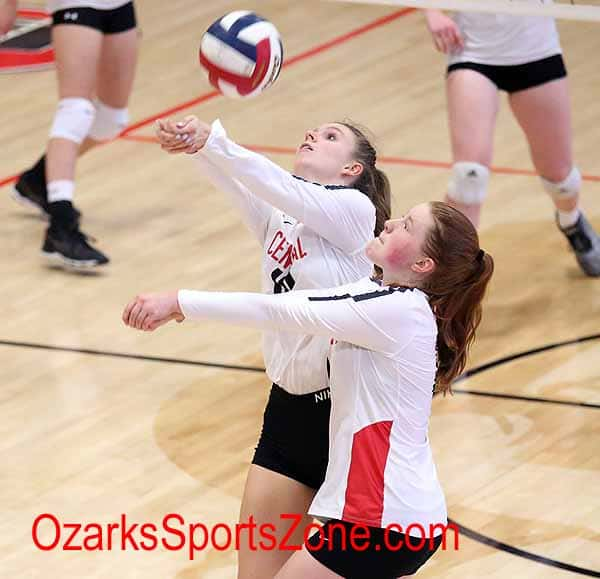
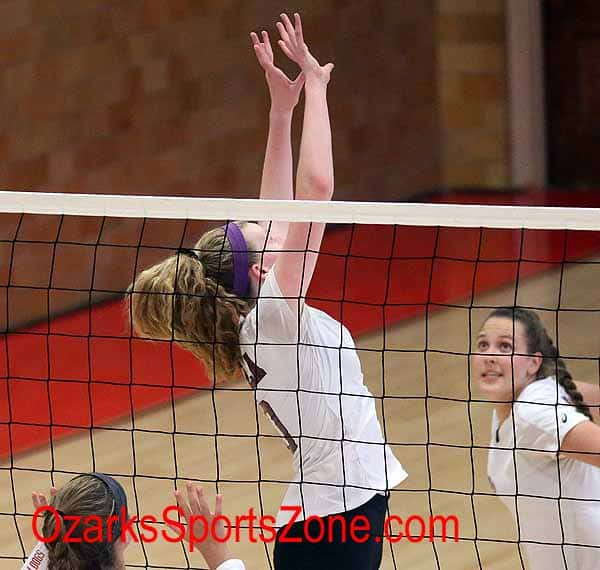
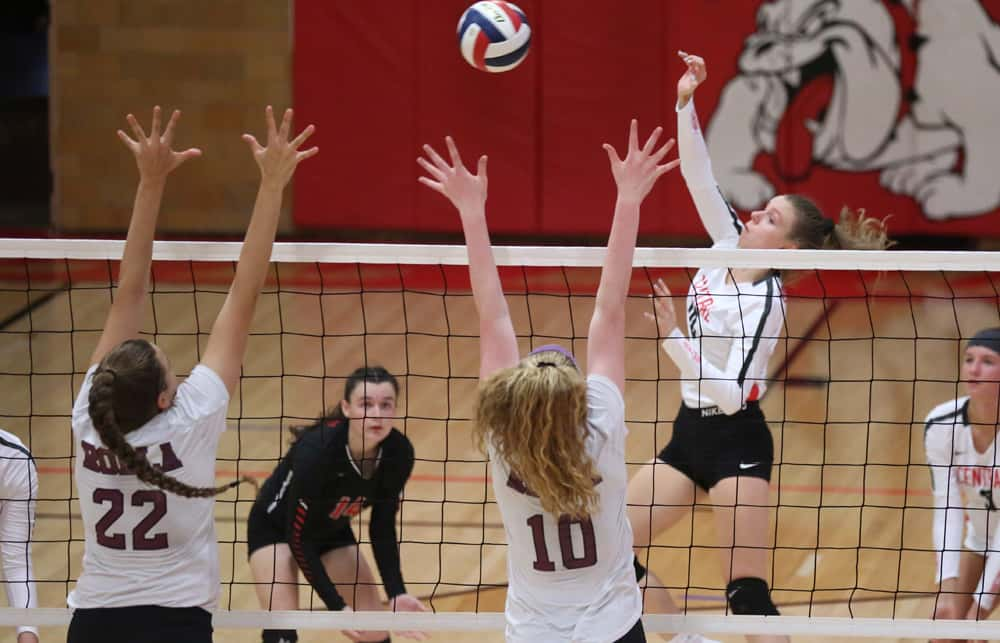
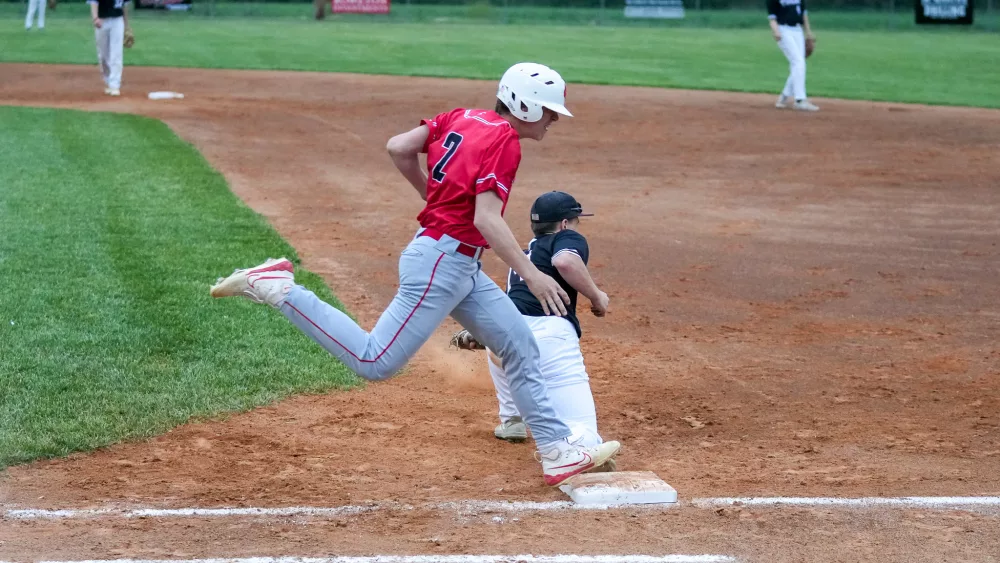
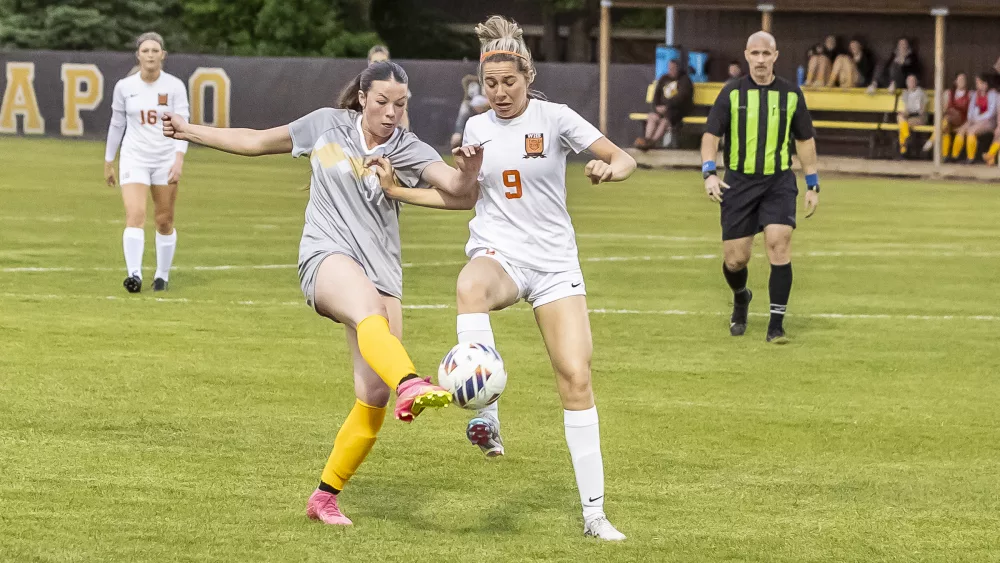
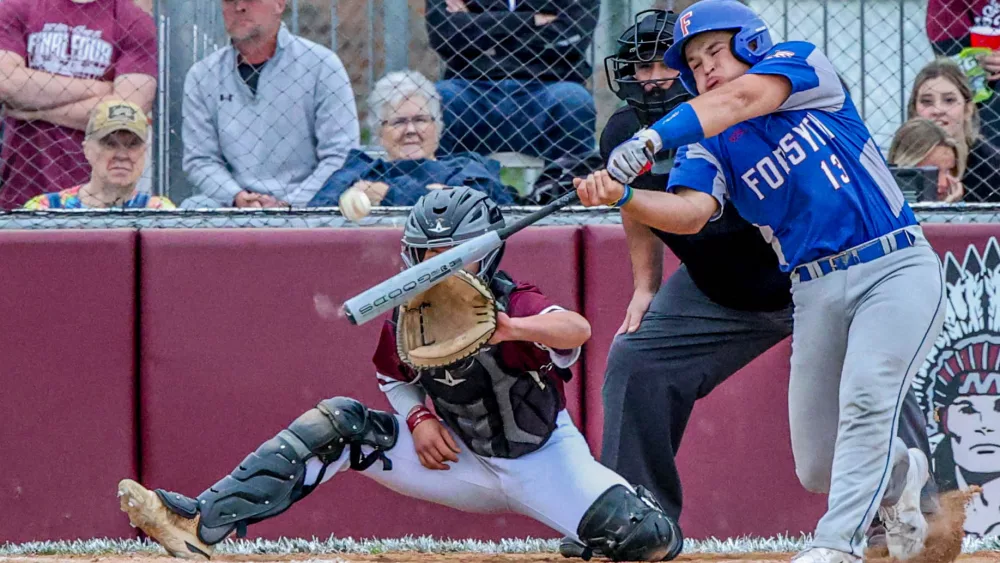
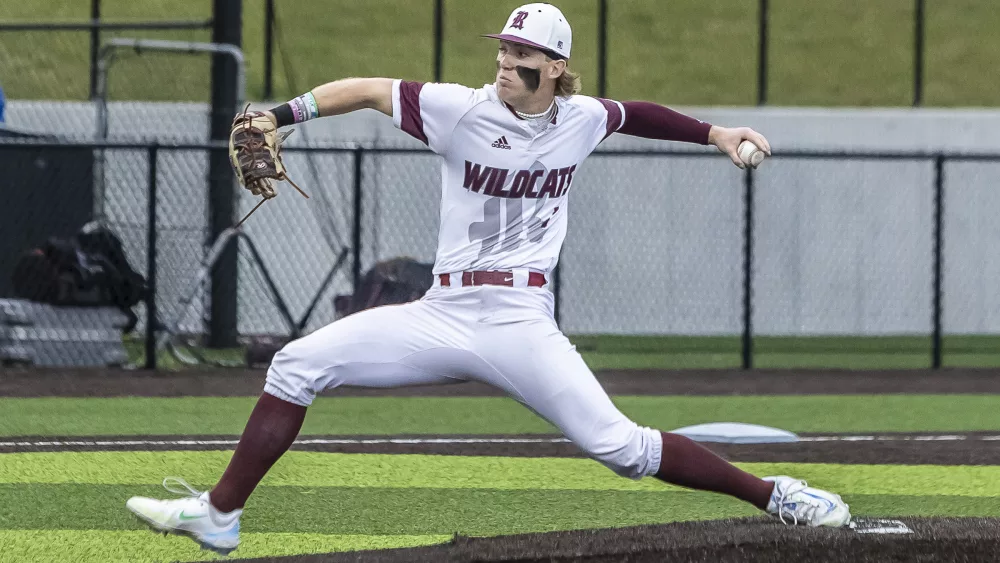
Pictures: Rolla vs. Central
Posted:
September 3, 2019
Photos
Share on Facebook
Share on Twitter
Photos by Kai Raymer –
CLICK HERE TO BUY PHOTOS
018A1065
018A1100
018A1103
018A1113
018A1122
018A1129
018A1149
018A1156
018A1168
018A1180
018A1185
018A1202
018A1215
018A1229
018A1232
018A1234
018A1238
018A1239
018A1243
018A1247
« Previous
1
2
3
4
Next »
People-Tag:
Kai Raymer
Prev
Previous Post
Next Post
Next
Related Posts
April 24, 2024
·
Pictures: Pearson City Championship
April 23, 2024
·
Pictures: Halfway 6, Weaubleau 5
April 23, 2024
·
Pictures: Kickapoo vs. Waynesville
April 23, 2024
·
Pictures: Forsyth 4, Strafford 2
April 23, 2024
·
Pictures: Logan-Rogersville 7, Springfield Catholic 1
April 23, 2024
·
Pictures: SBU HS Invitational – Class 1-3 Track Events
Next →
All articles loaded
No more articles to load
Load more
Loading...
59580369
Mozilla/5.0 AppleWebKit/537.36 (KHTML, like Gecko; compatible; ClaudeBot/1.0; +claudebot@anthropic.com)
94d340bb7415688126e565d8c1d41a782a51371e
1


